This week, I browsed many old machines at ebay to use for my first attempt at setting up a homelab. Initially, I planned to build a machine myself during the summer holiday, but in today I found a great performance and a high cost-effective machine that changed my mind.
Overview
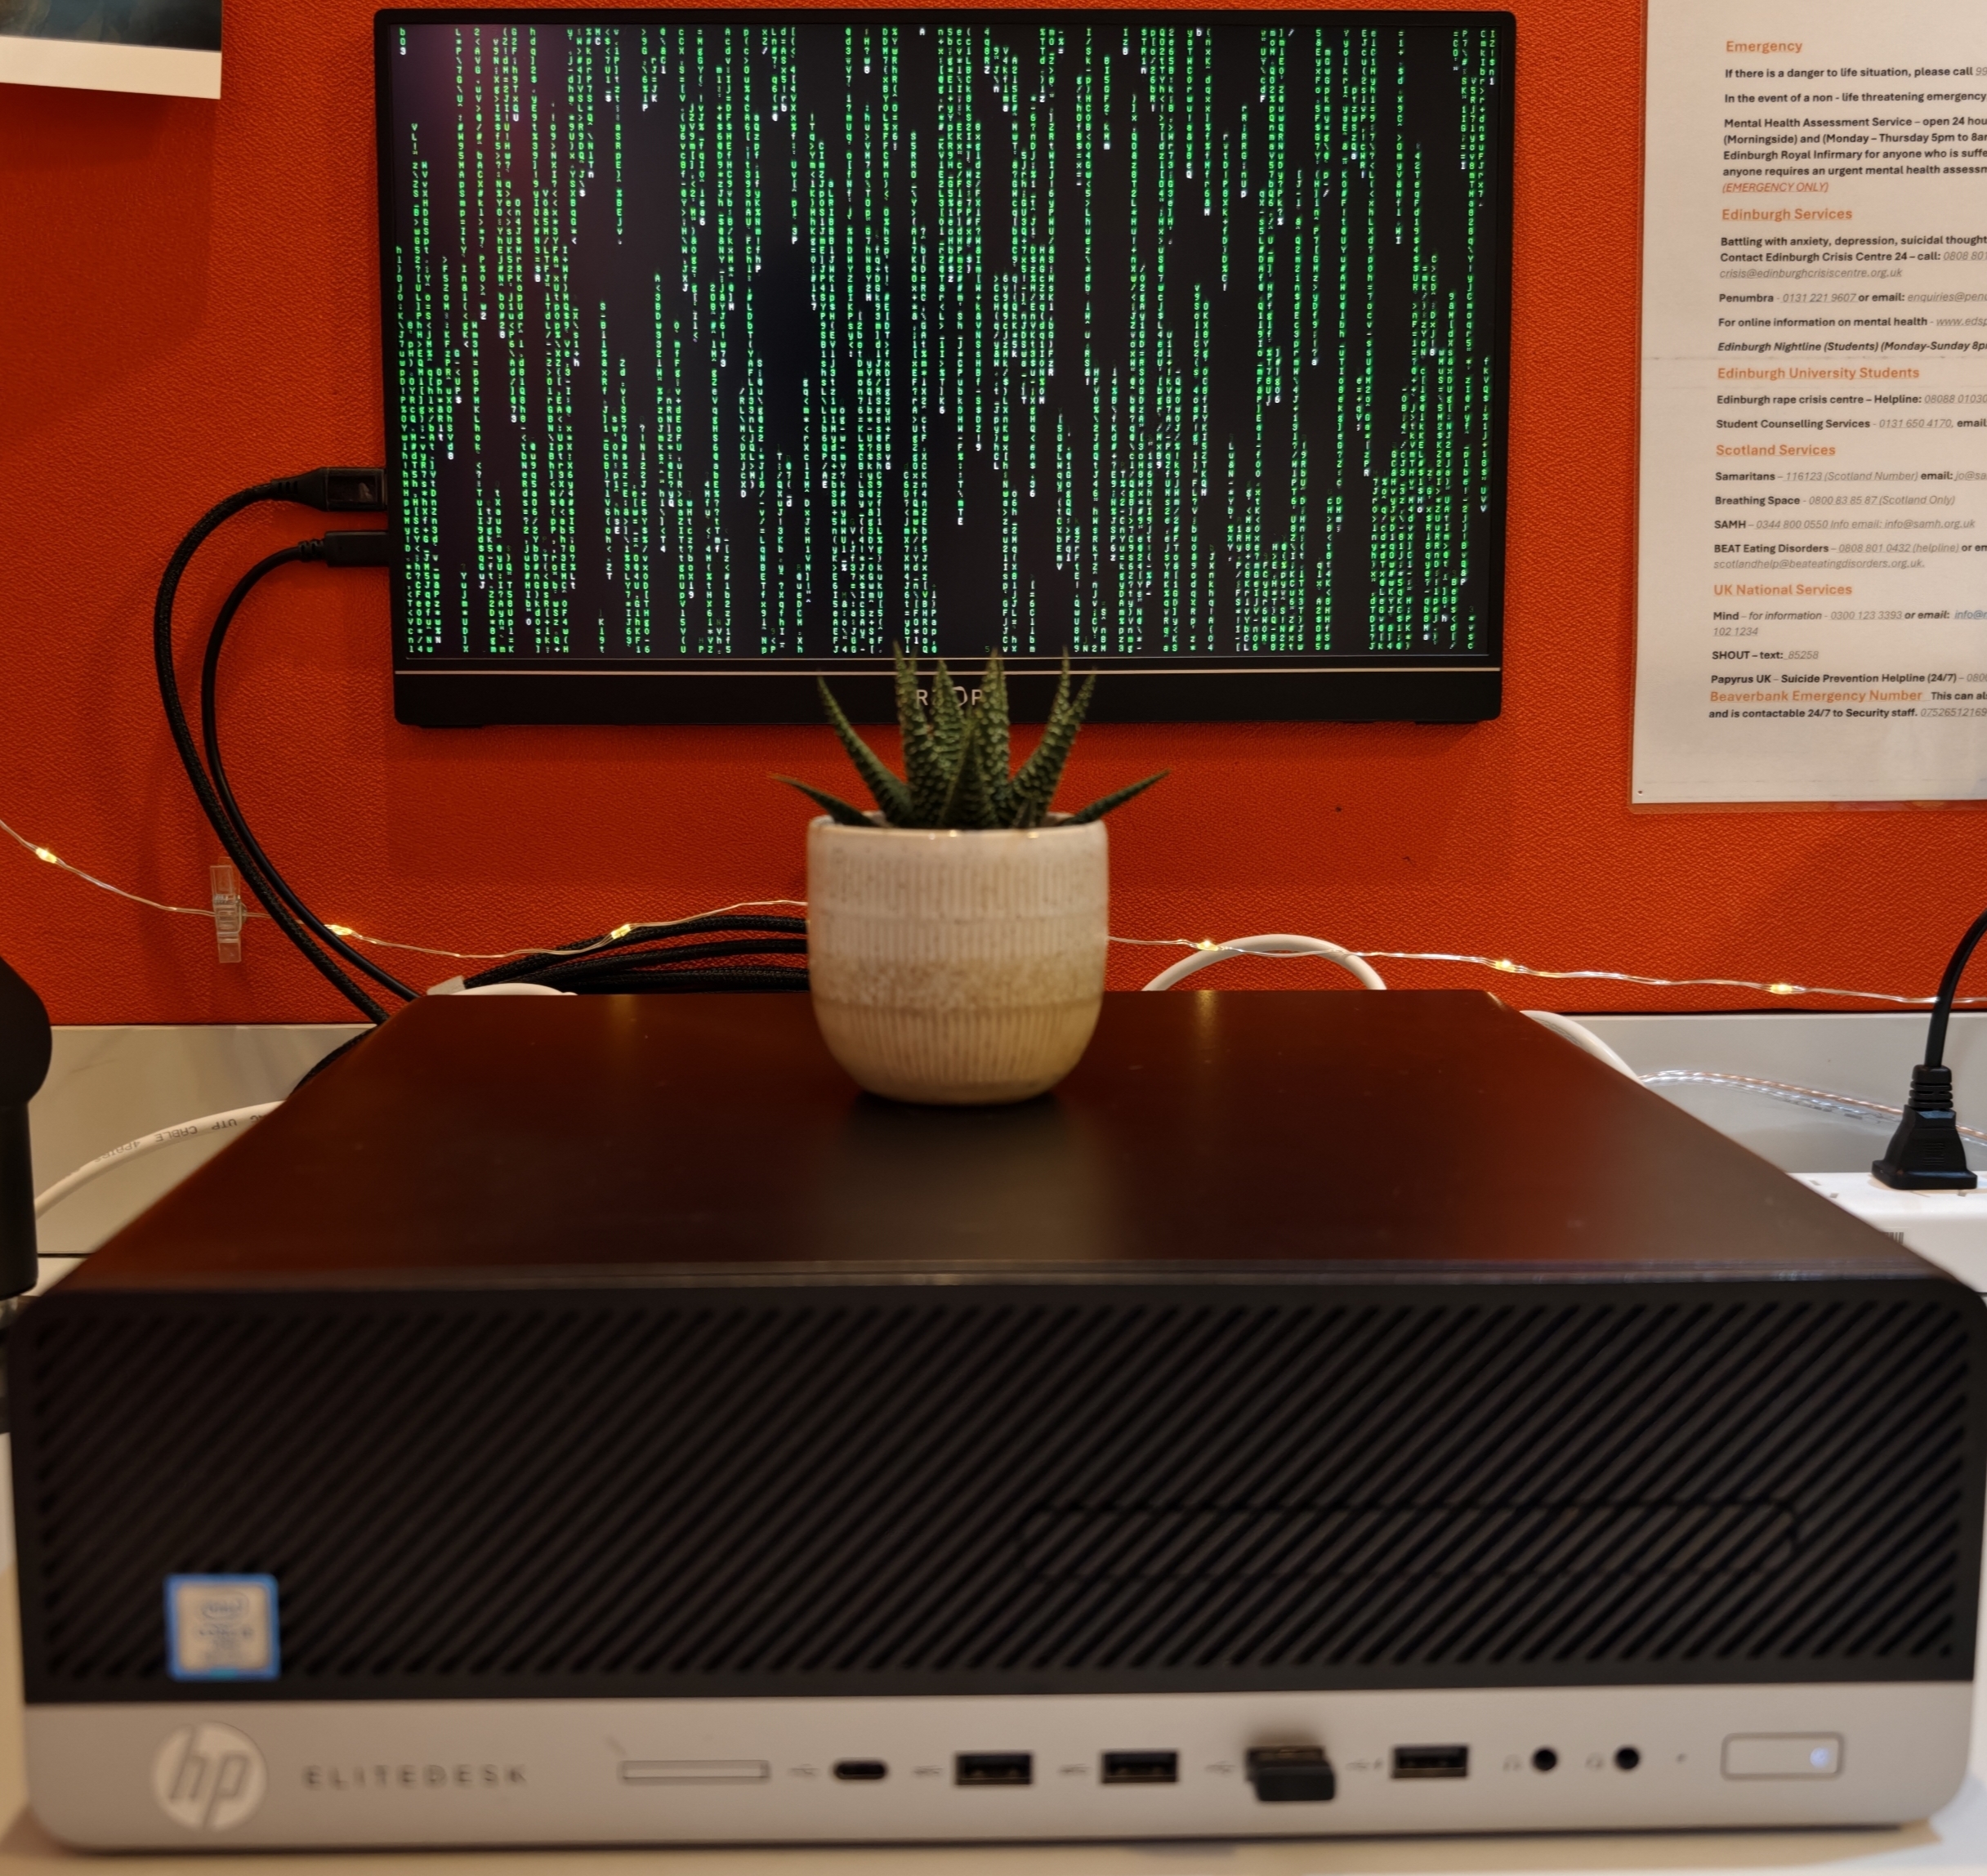
The machine model is HP-Elitedesk-800-G4-SFF. Compared to its previous generation, the chipset supports 8th and 9th generation of intel core cpu, which offers a significant improvement(6c6t) compare with 6th/7th core cpu(4c4t). Furthermore it provides NVme express in this generation. With these components, I can build a highly cost-effective homelab. The total cost is £150.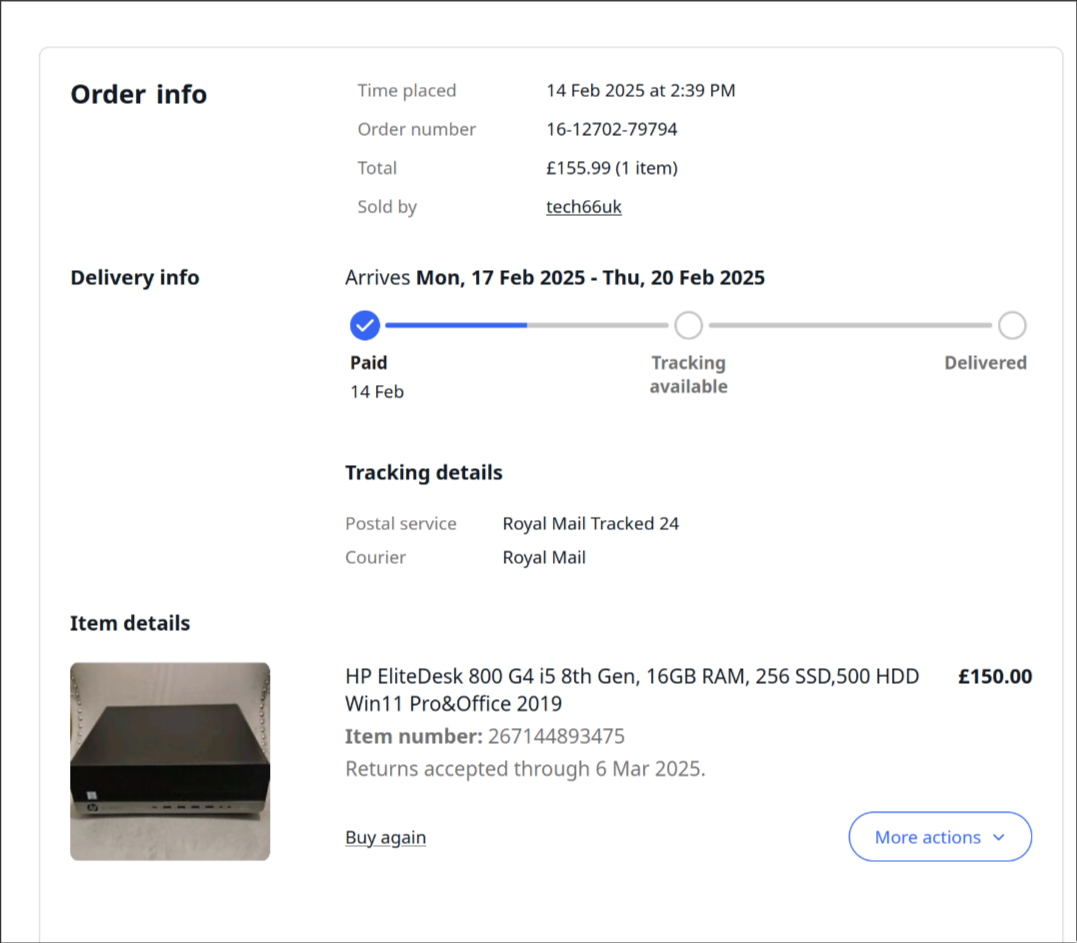
If you want to learn more here is the machine datasheet:server_datasheet
Hardware
- Motherboard: Q370
- CPU: i5-8500
- GPU: intel UHD 630
- RAM: 16G
- SSD: 256G
- HDD: 500G * 1
The motherboard provides a high flexibility to expand more internal storage, also it has 4 PCie expansion slots which can used to expand more storage space or other components you want.
Software
nextcloud
email domain
gitlab
minecraft server
docker
jellyin
synthing
proxy?router?gateway?
virtual machine
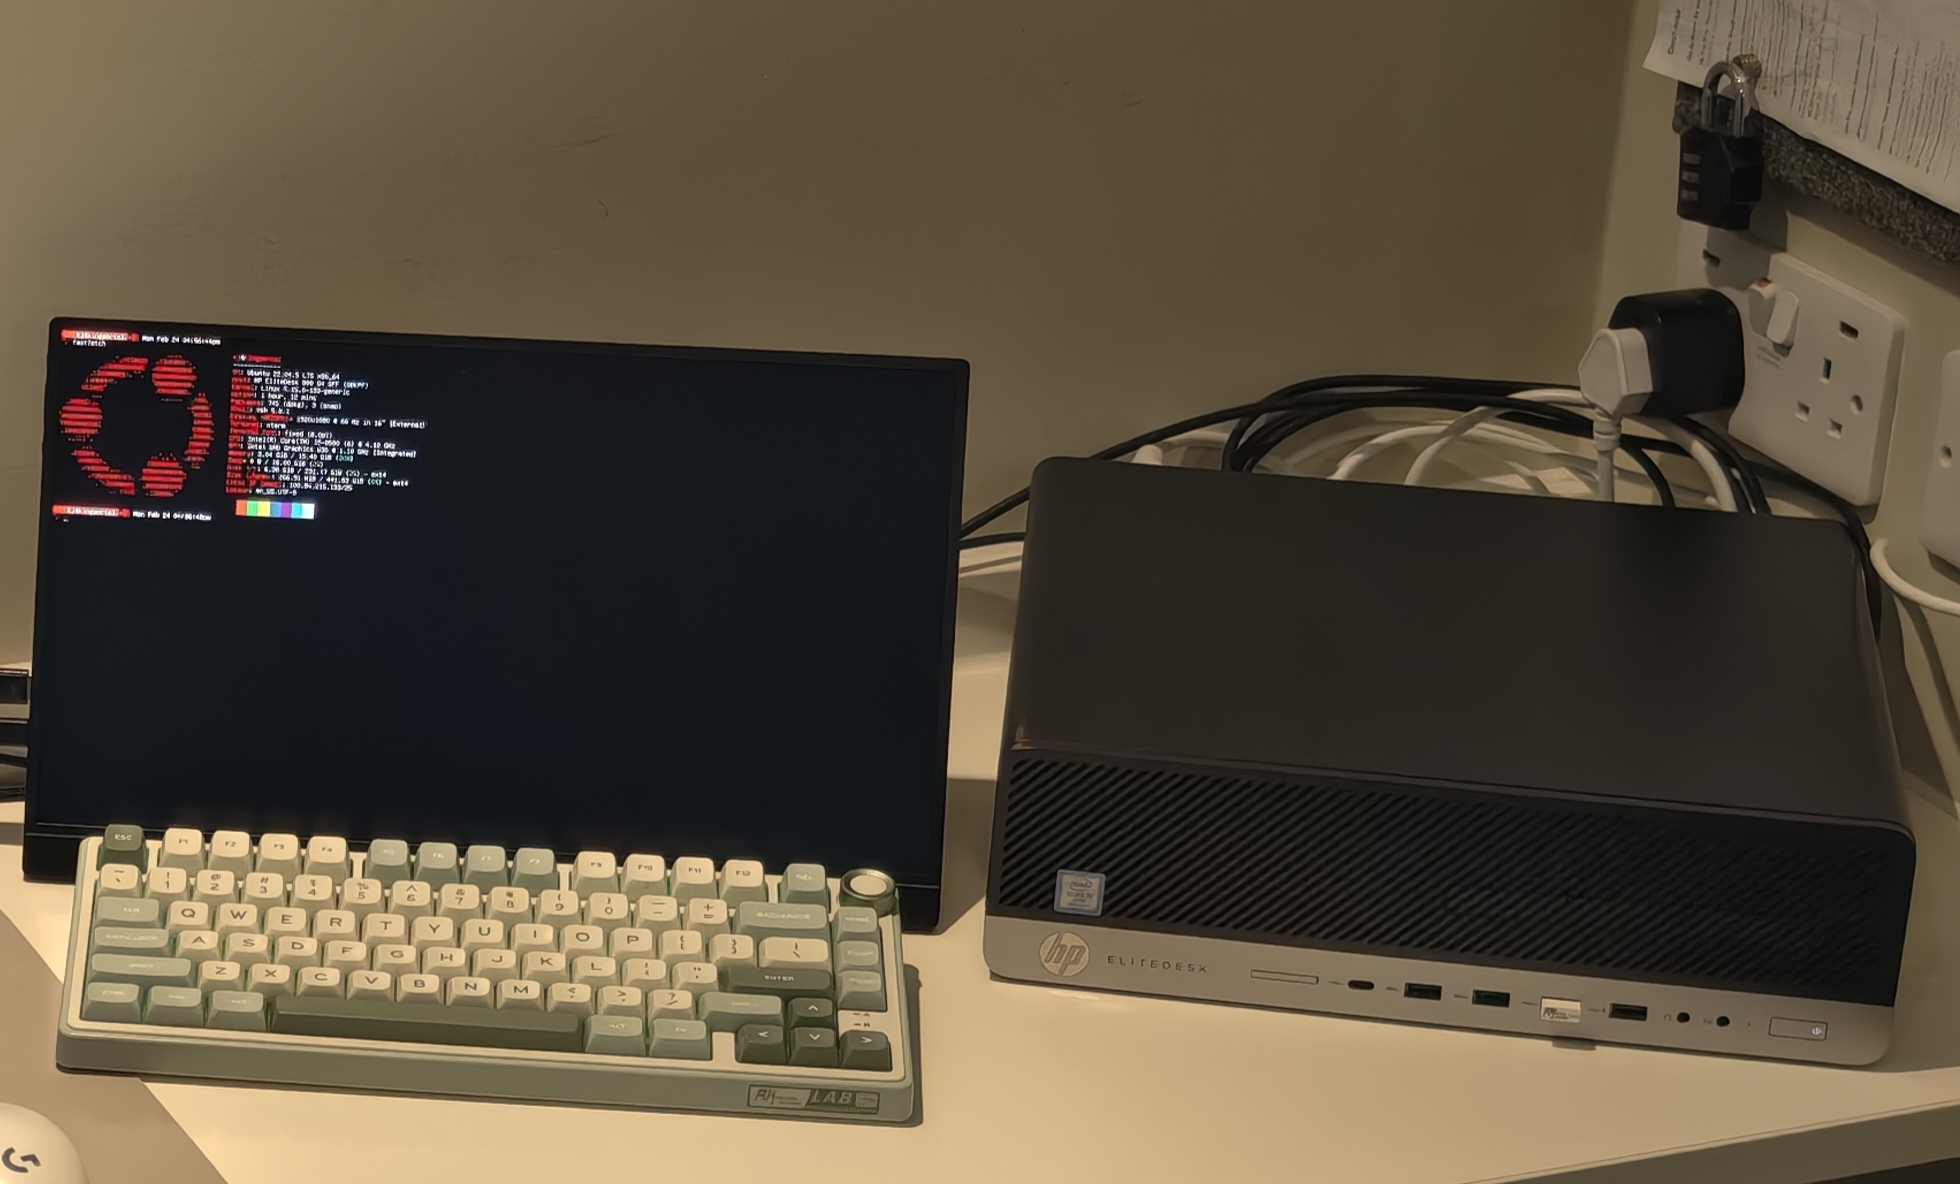
I host my server with ubuntu server distro. The reason I didn’t choose proxmox is because I want to learn server step by step, proxmox is great in visualization, maybe in the future, I will try it.
Durign the process of configuring storage, I learned LVM, which is a wonderful tool for those users that has multiple drives. User can create a storage pool called volume group. Firstly, user add their physical volumes into volumn group, and we create logical volumn based on the storage area had in volumn groups, and then we mount those LVs with the actural dirctory. It seems like Windows is not able to achieve this function. For RAID, we seperate it into 4 different categories, radi0, raid1, raid5 and raid10. This tools shows how to save files in different number of drives or in LVM.
For external access, I plan to use cloudflare tunnel. They provide such service, I need to buy a domain name and combine it with the cloudflare tunnel, and when I access the server, I firstly type the domain name in my browser to ask cloudflare, and they will guide me to the tunnel to my server, also in server end, I need to install cloudflared docker image as an end, then it works! It’s so convenient for those people who live in school accommodation. And it’s totally free!
In my network configuration. I didn’t install a router, but the best choice is to use a router for all devices in my home, and assign each of them an static IP address. To access the server, I bought a portable monitor, since the IP address of my server using DHCP, which required to check the IP address manually when the machine reboot or close. This issue will be solved easily when I have a router. Nowadays, I need to change the tunnels configuration to enable external access.
since I have 3 different operating systems in my three daily devices, phone for android, laptop for arachlinux and ipad for ipados, I installed nextcloud docker to try to integrate them into one ecosystem, that pretty awesome.
Roadmap
- Nextcloud for cloud storage. - 2025.03 ✅
- Able to build game server. - 2025.03 ✅
- Music and video live streaming server. - 2025.03 ✅
- Deployed my full stack project by containerization. - 2025.09 ✅
- Support ssh into the server(tailscale) - 2025.12 ✅
- Support personal VPN(tailscale) - 2025.12 ✅
- Support remote vscode development environment - 2025.12 ✅
- Support Media Stream service - 2025.12 ✅
Year 1
Year 2